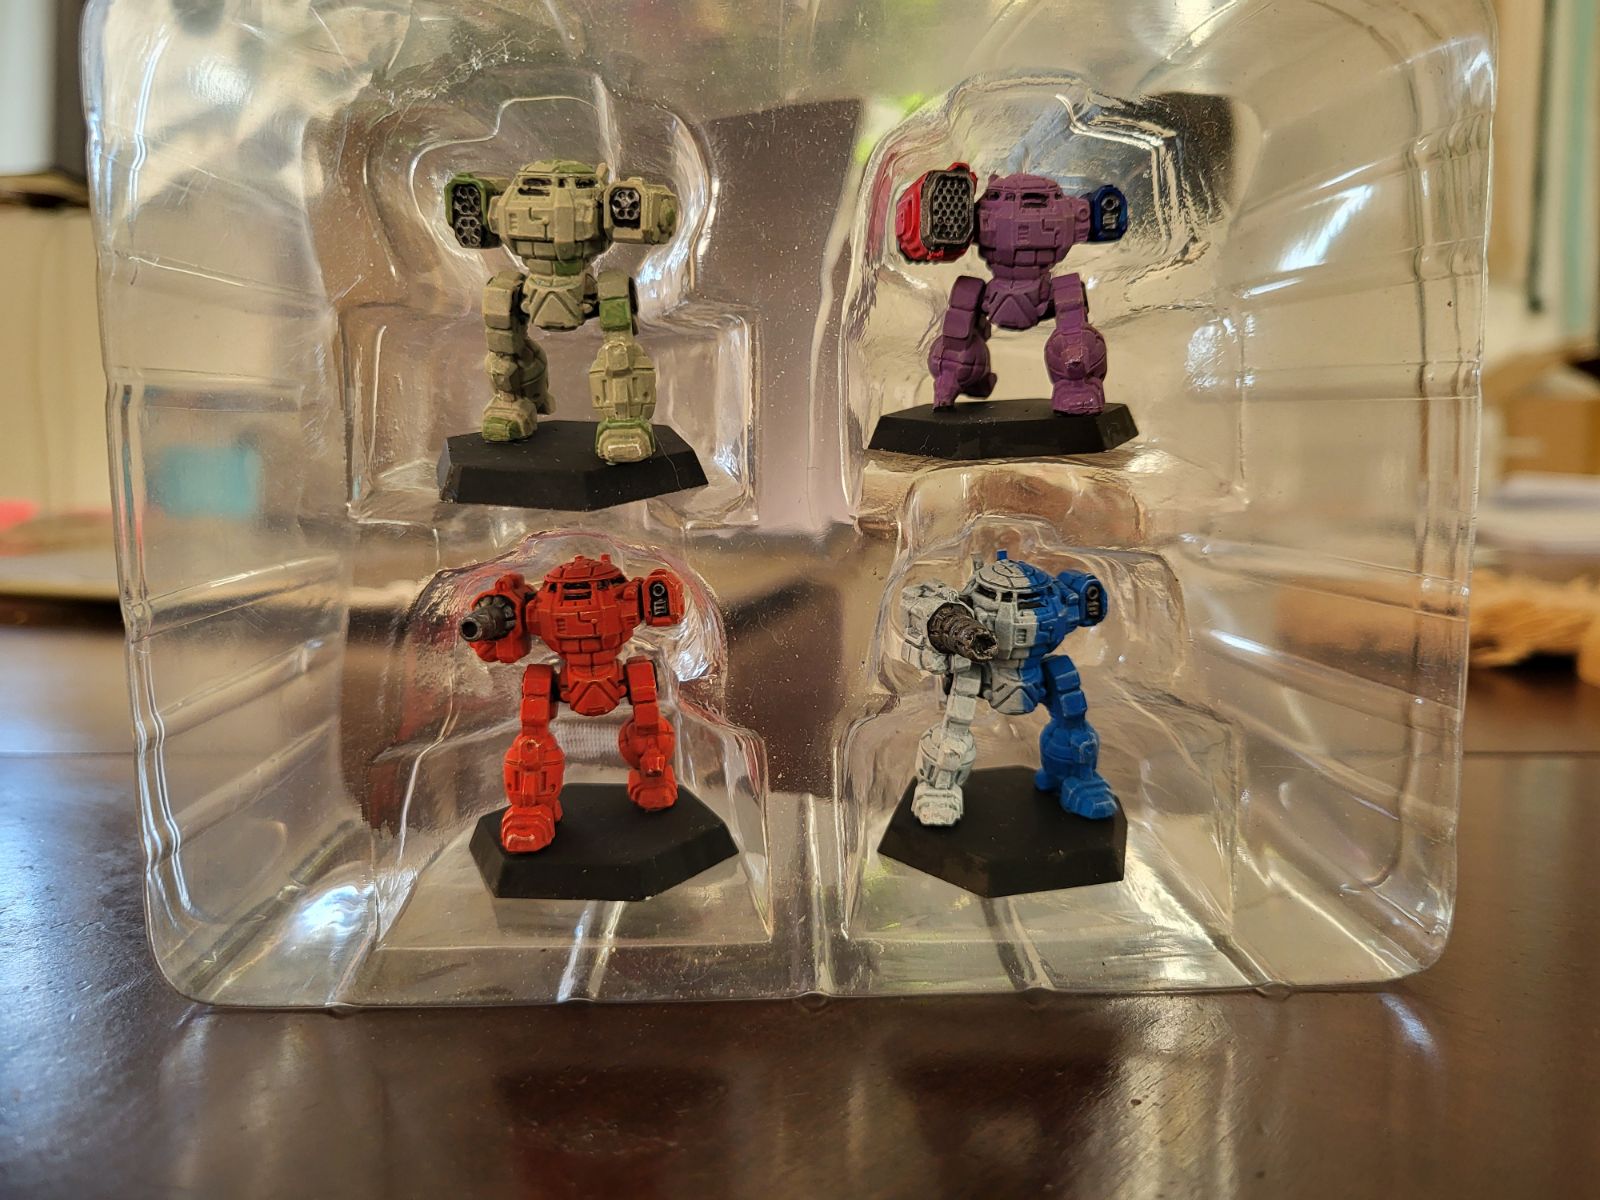
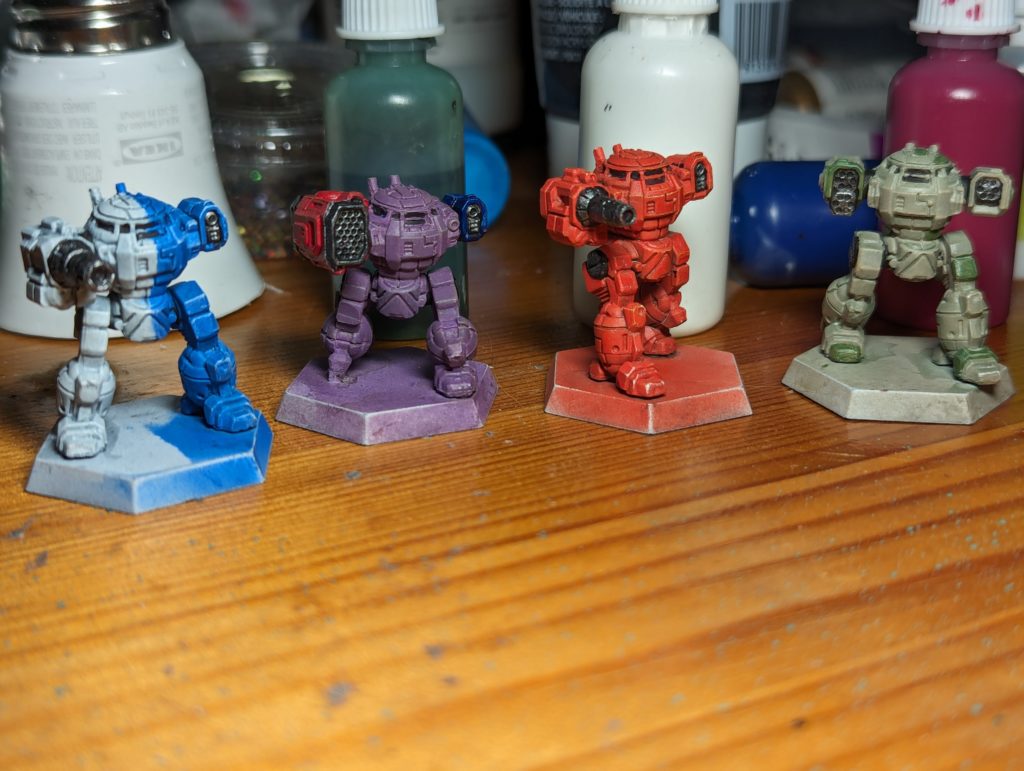
I love giant robots (YOU love giant robots, WE love giant robots…). I’ve been painting battletech models for my buddy for a while now because he looooves to play but doesn’t enjoy squinting at wardollies and painting inside the lines. We’ve done a couple paintalong sessions so he’s equipped to do it himself when I’m unavailable, but he’s my primary source of fun robots to paint and I’m his primary source of painted robots, so it works out real good. I bought this batch of urbanmechs for his birthday for the lulz because they’re kind of a meme unit, but my buddy unironically likes them so he plans to integrate them into his inner sphere lances. Of which he has several. Thus, the request was to colour and pattern match his existing Kurita (red), Lyran (blue/white), Marik (purple), and Liao (khaki).
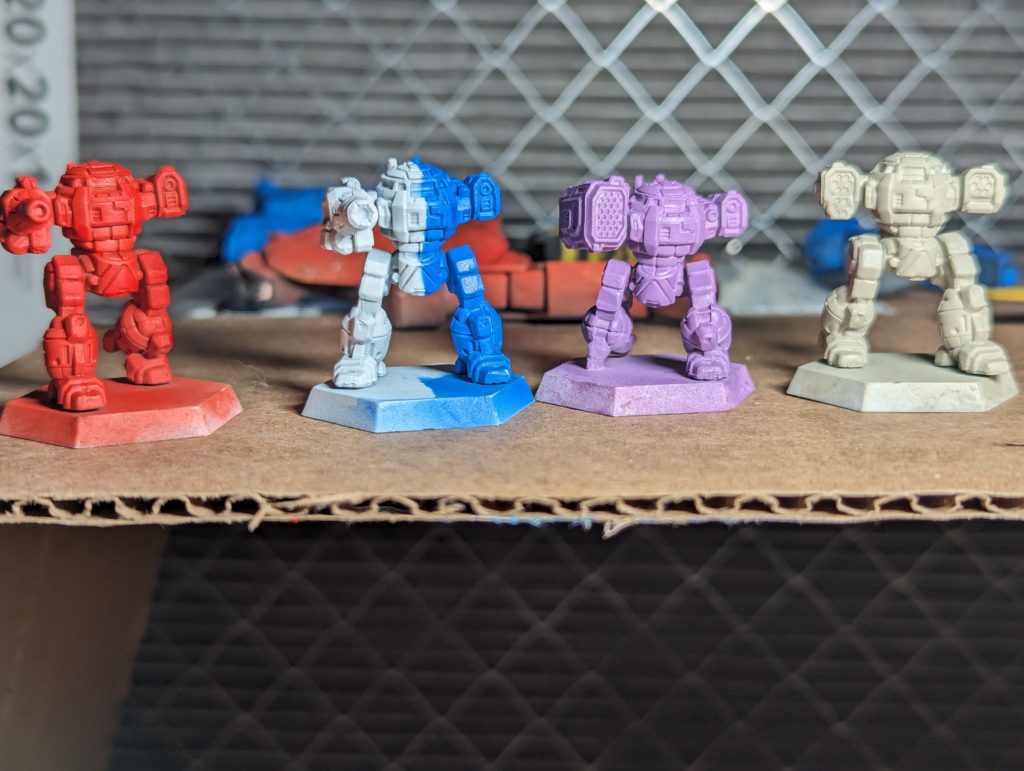
This was the first time I got to paint battletech with an airbrush, and I decided to treat myself and not just prime but base layer, since I’ve got CMYK airbrush inks I can mix. It’s a little different mixing up colours for airbrush, I find it’s easier to mix inks in a separate container and then pour into the cup with the thinner. But, I’m not mixing with a brush yet, I’m just backwashing air which… isn’t the most effective way to do it, I have to admit. I’ll probably change my process there. I also haven’t ever seen his Liao units in meatspace so I was doing a lot of squinting and zooming on his reference images and sending pictures for feedback. Started out way too bright with a drop of sepia ink in 10 drops of white primer, but I did a second coat to correct it with a 3:10 and it came out beautifully. Anyway, the airbrushing (including masking half the Lyran for blue, cleanouts for pigment swaps and the extra layer of the khaki) took 30 minutes tops and came out smooth as butter, which is just a tremendous improvement in my painting experience. It’s not like I’m hating painting or anything, but getting smooth base layers on with a brush is less challenging and more time consuming these days. Which is great! I’m really happy it’s easy enough for me to get what was once a challenge done without much thought. But I’d rather skip to the more fun stuff. And with the airbrush, I can. Happiness.
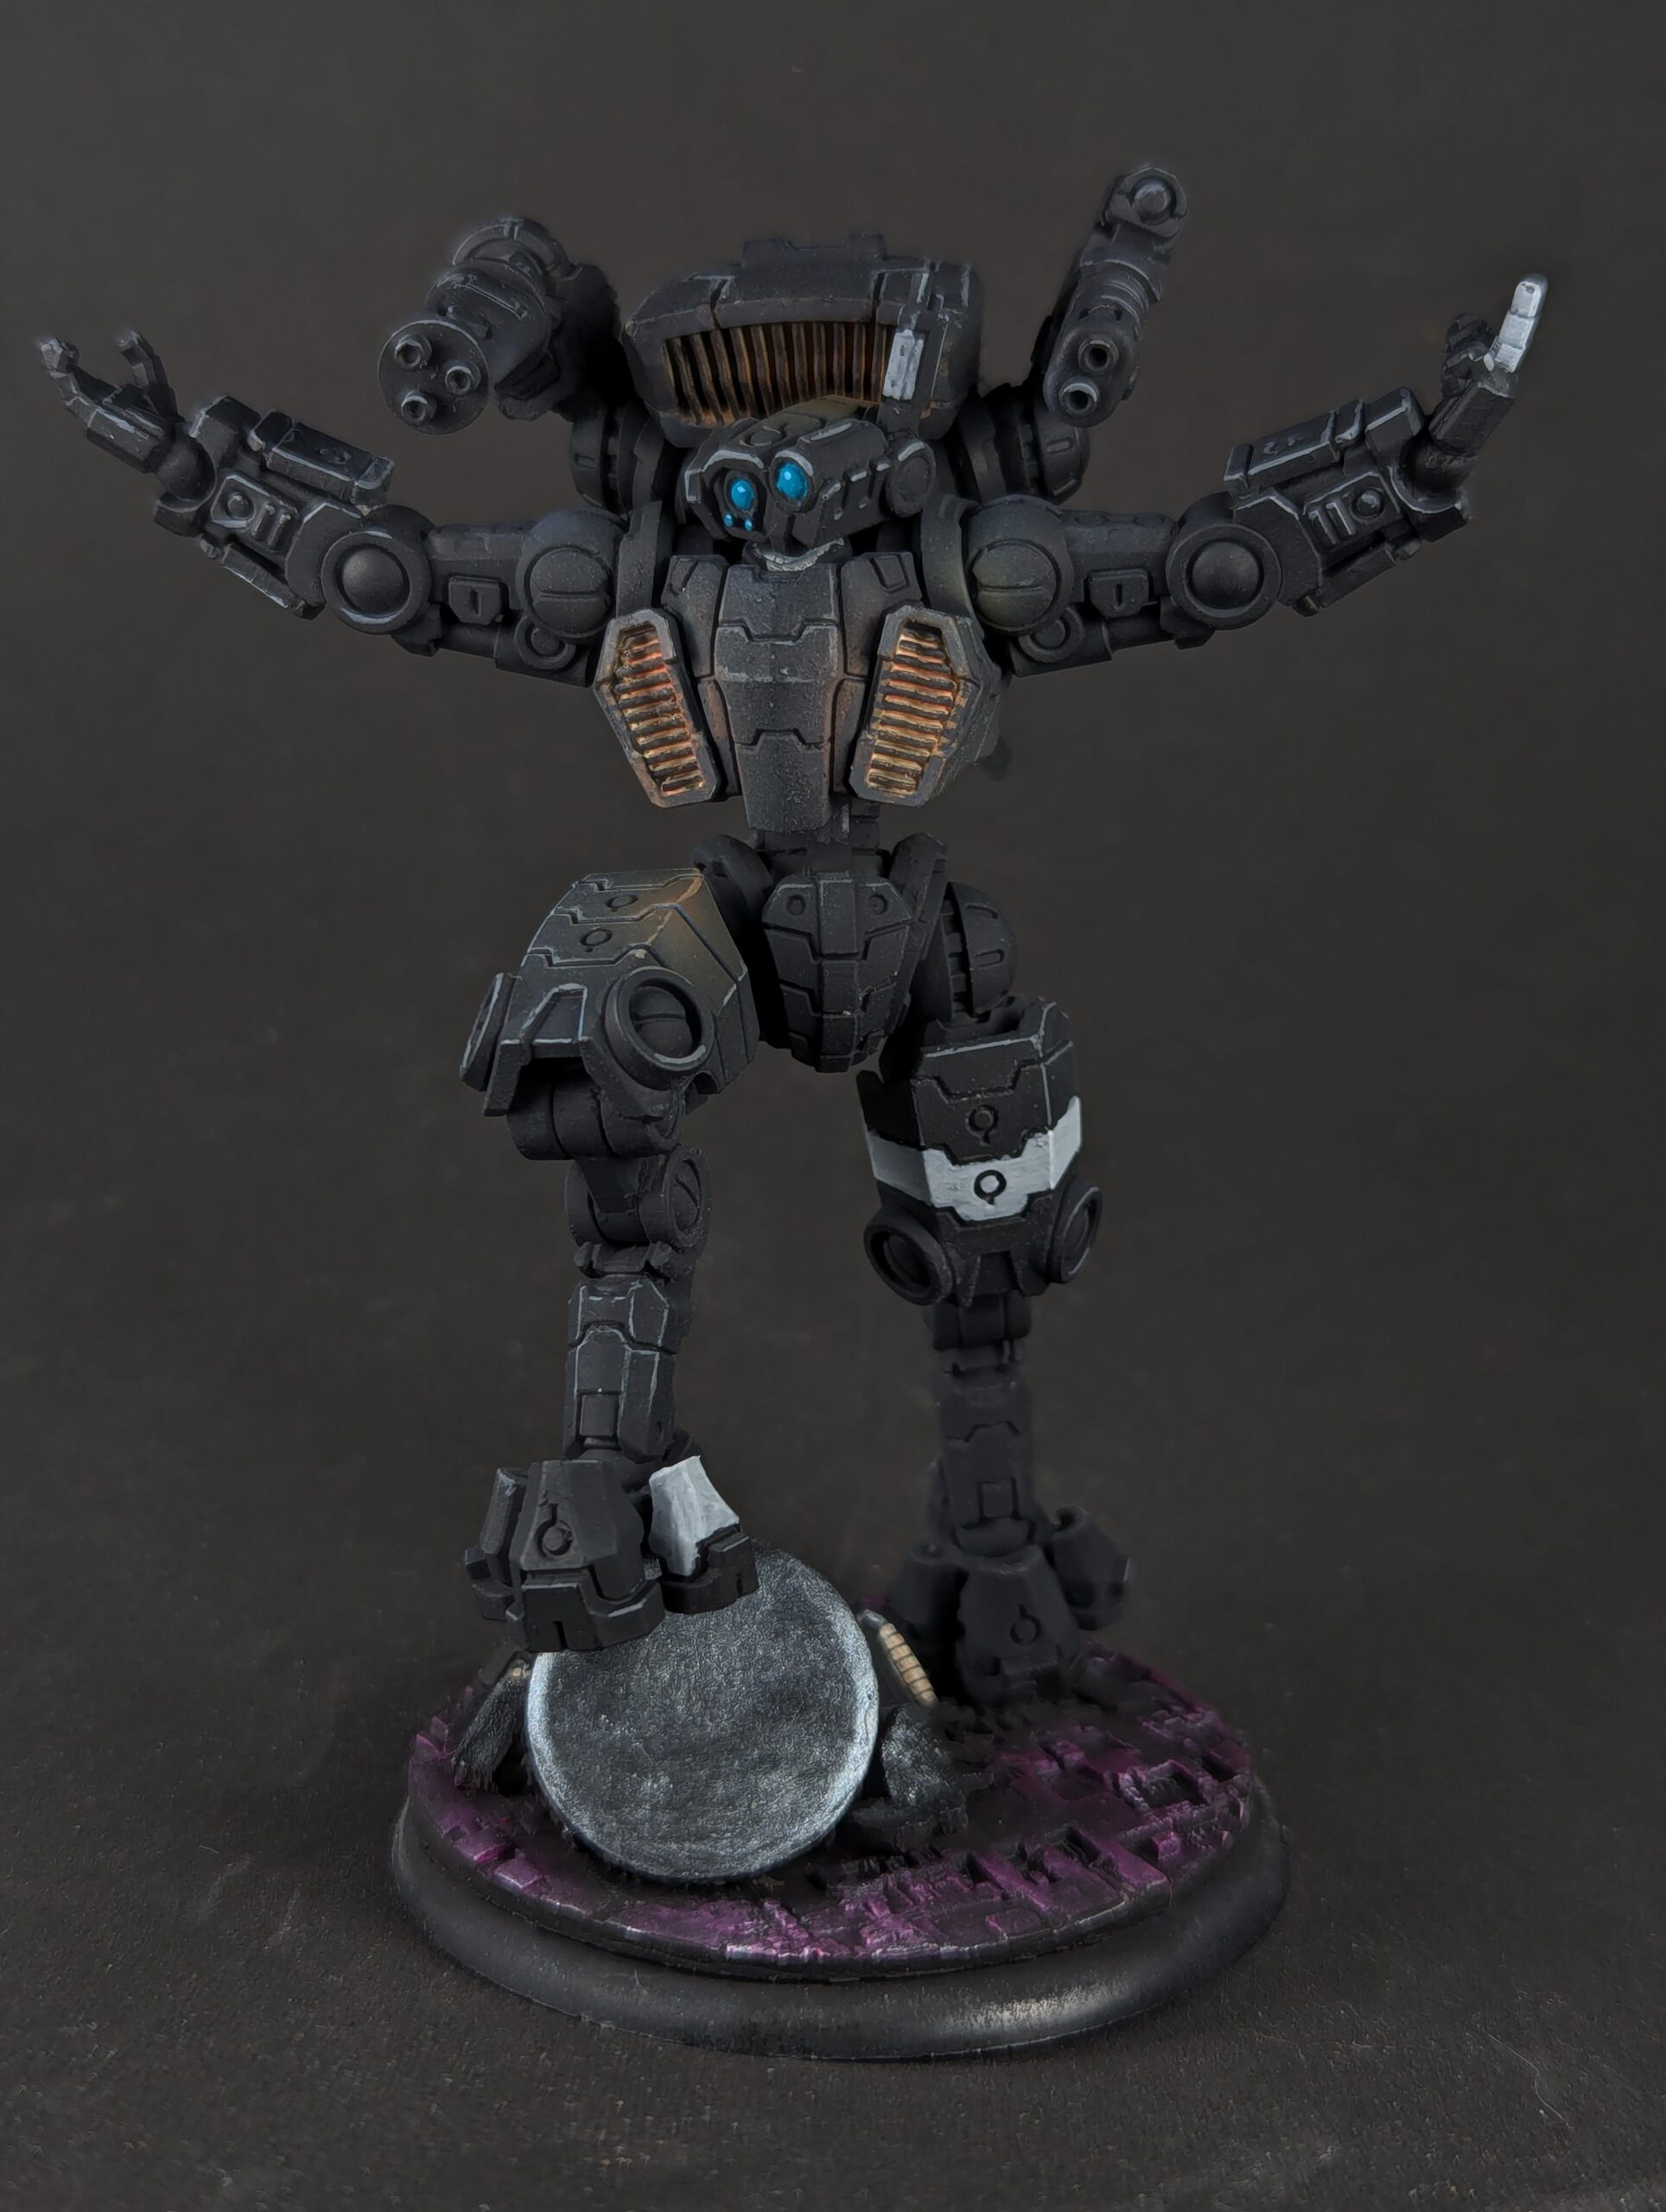
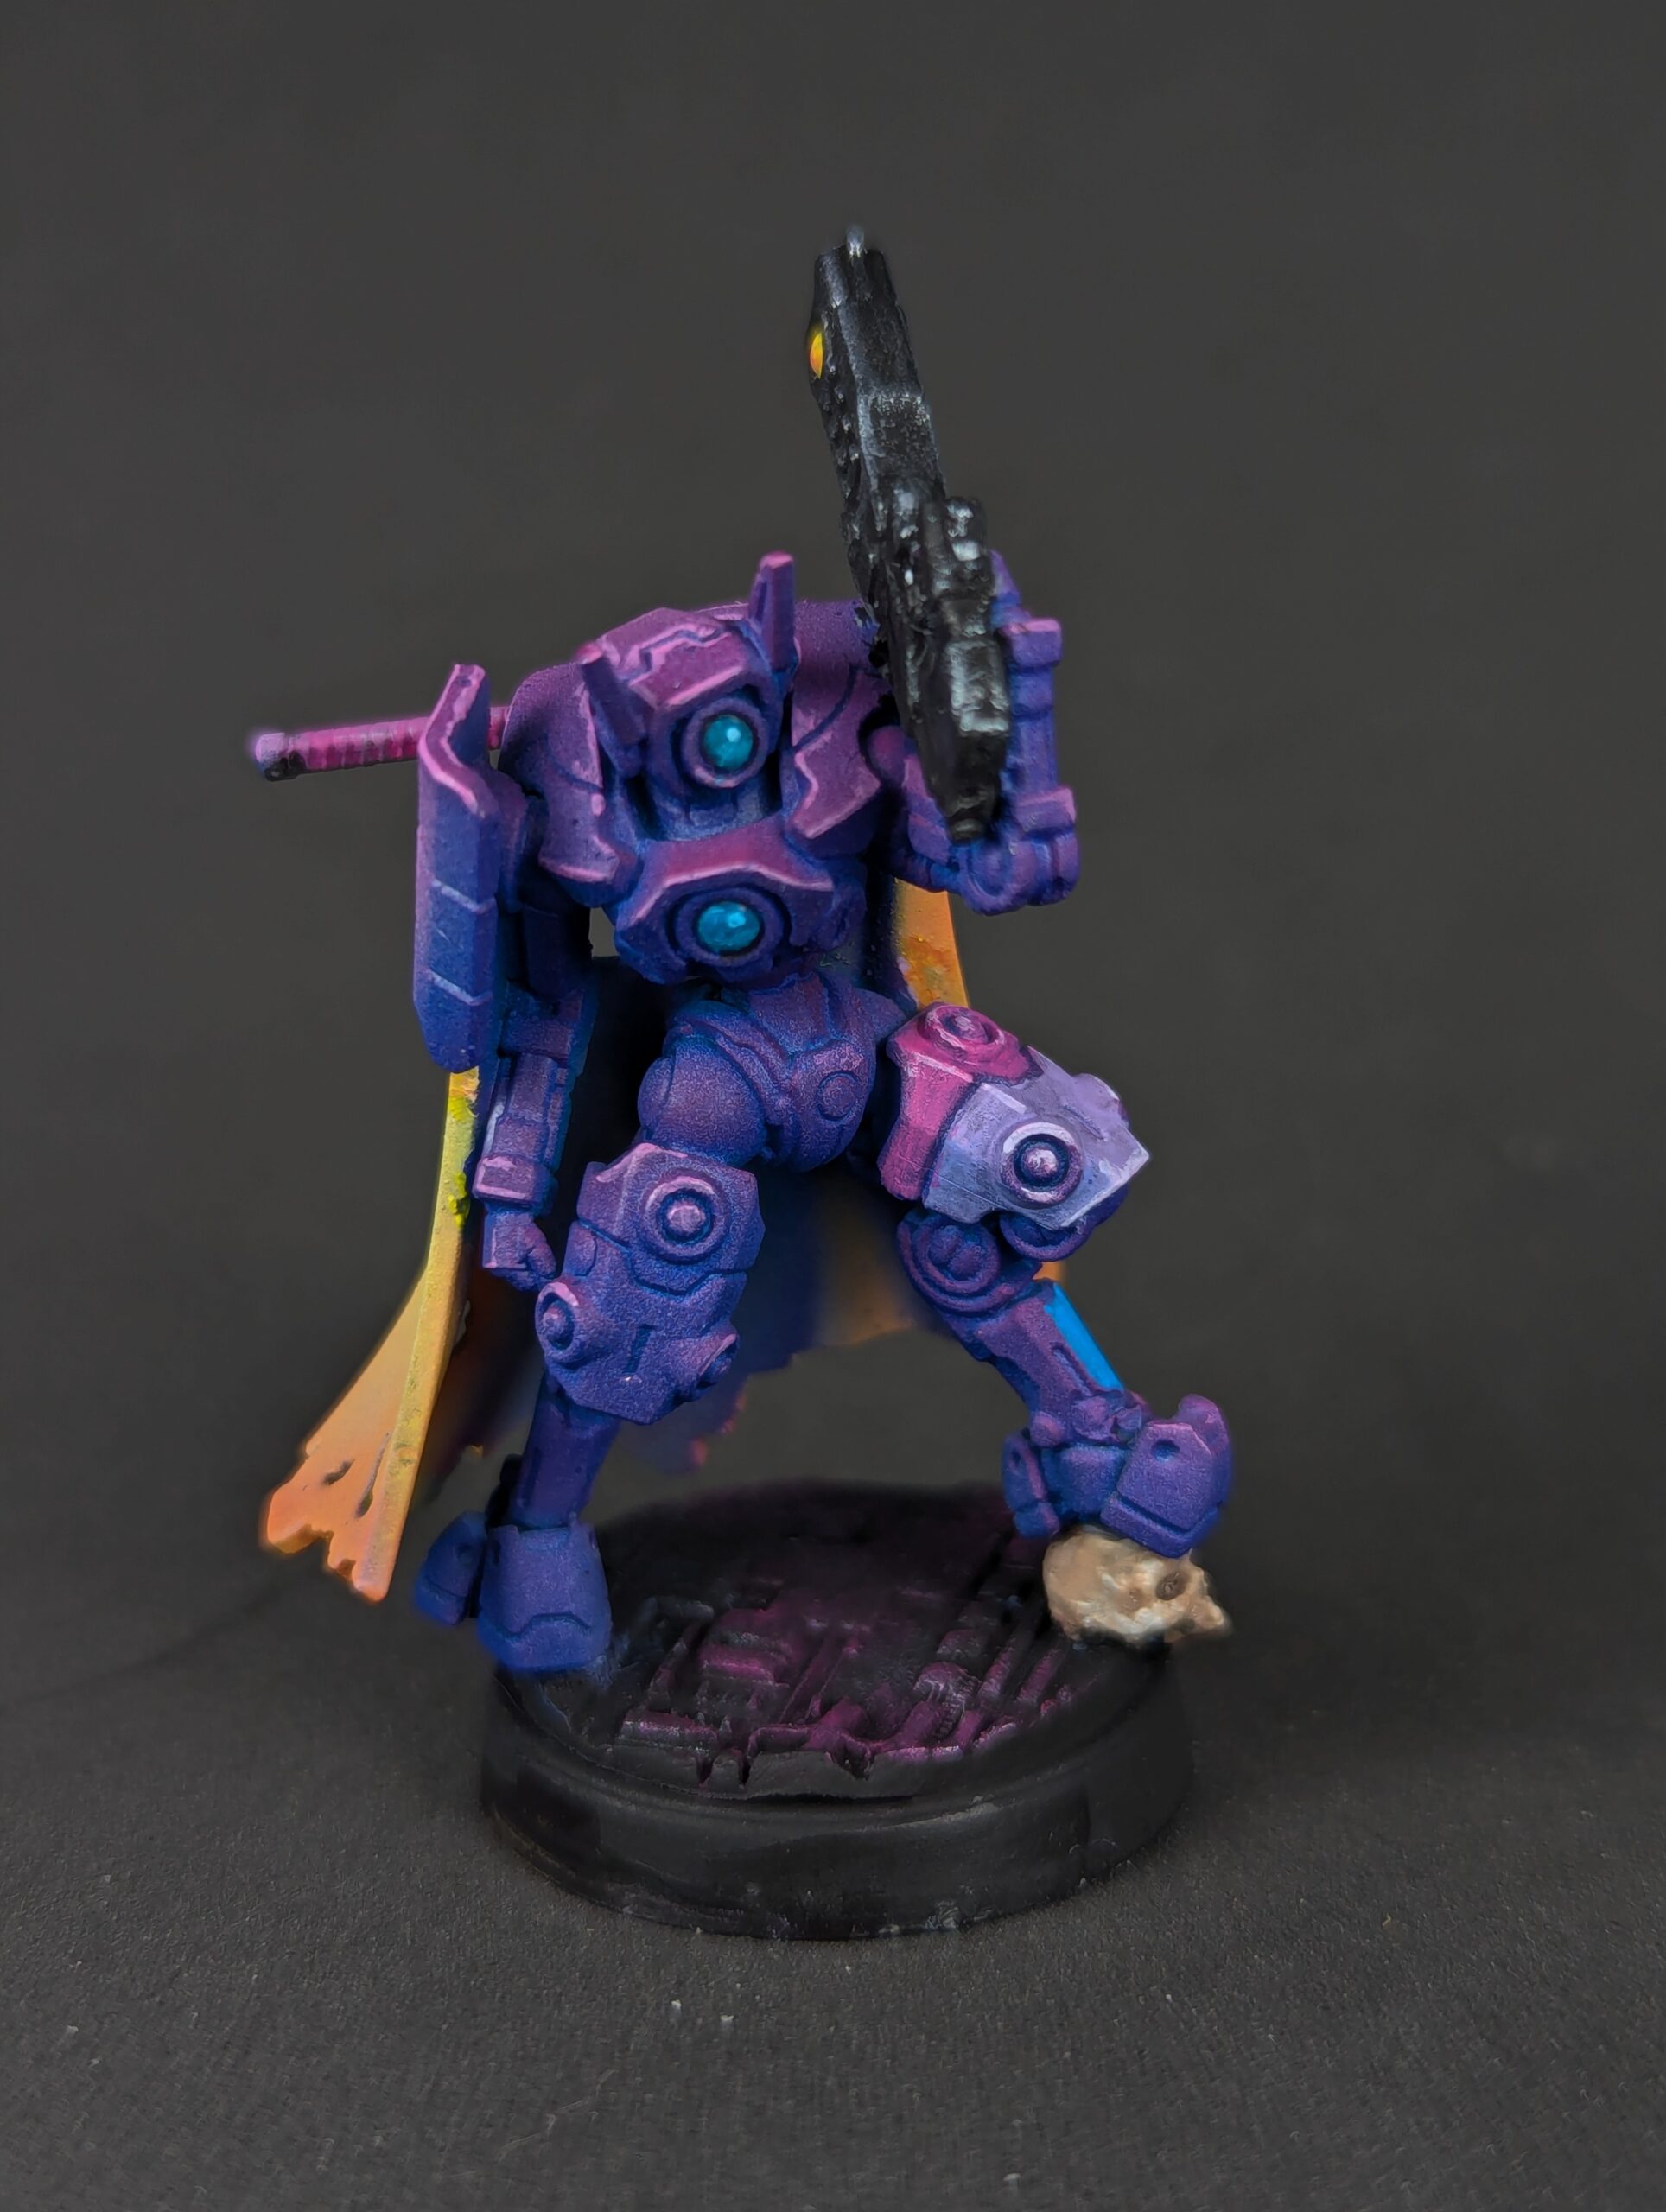
I’ve experimented with several ways of getting highlights on these models in the past. My first attempt was a GW-inspired edge highlighting that went real bad on account of these aren’t GW sculpts and they don’t have the volume carved in them for that technique. I’ve got my drybrush technique reasonably dialed in now so I drybrushed highlights on instead, going carefully and doing two or three light layers. Those rounded tops will absolutely catch smears if there’s the slightest bit of excess paint in the brush. Black and then dull metallic for some weapon bits and joints, plus bright metallic edge highlighting because I’m a sucker for it and it actually does work on the sticky-outy bits of weapons. Normally I do some layer from black up to a cockpit light but urbanmechs have cockpit windows like they’re squinting at the sun.
I hadn’t yet bought my oil paints for pinwashing, which is kind of a pity because they’re the perfect candidates for it. On the other hand my actual first attempt involved disastrous brushing on of gloss and I’m glad I didn’t ruin these for it. So! Just a quick, light, careful application of my homemade black acrylic wash to get the lines to pop nicely. Another round of airbrushing for a matte varnish, then some spot gloss varnish for cockpits and painting the bases black. My buddy’s happy with ’em and I had a lot of fun.