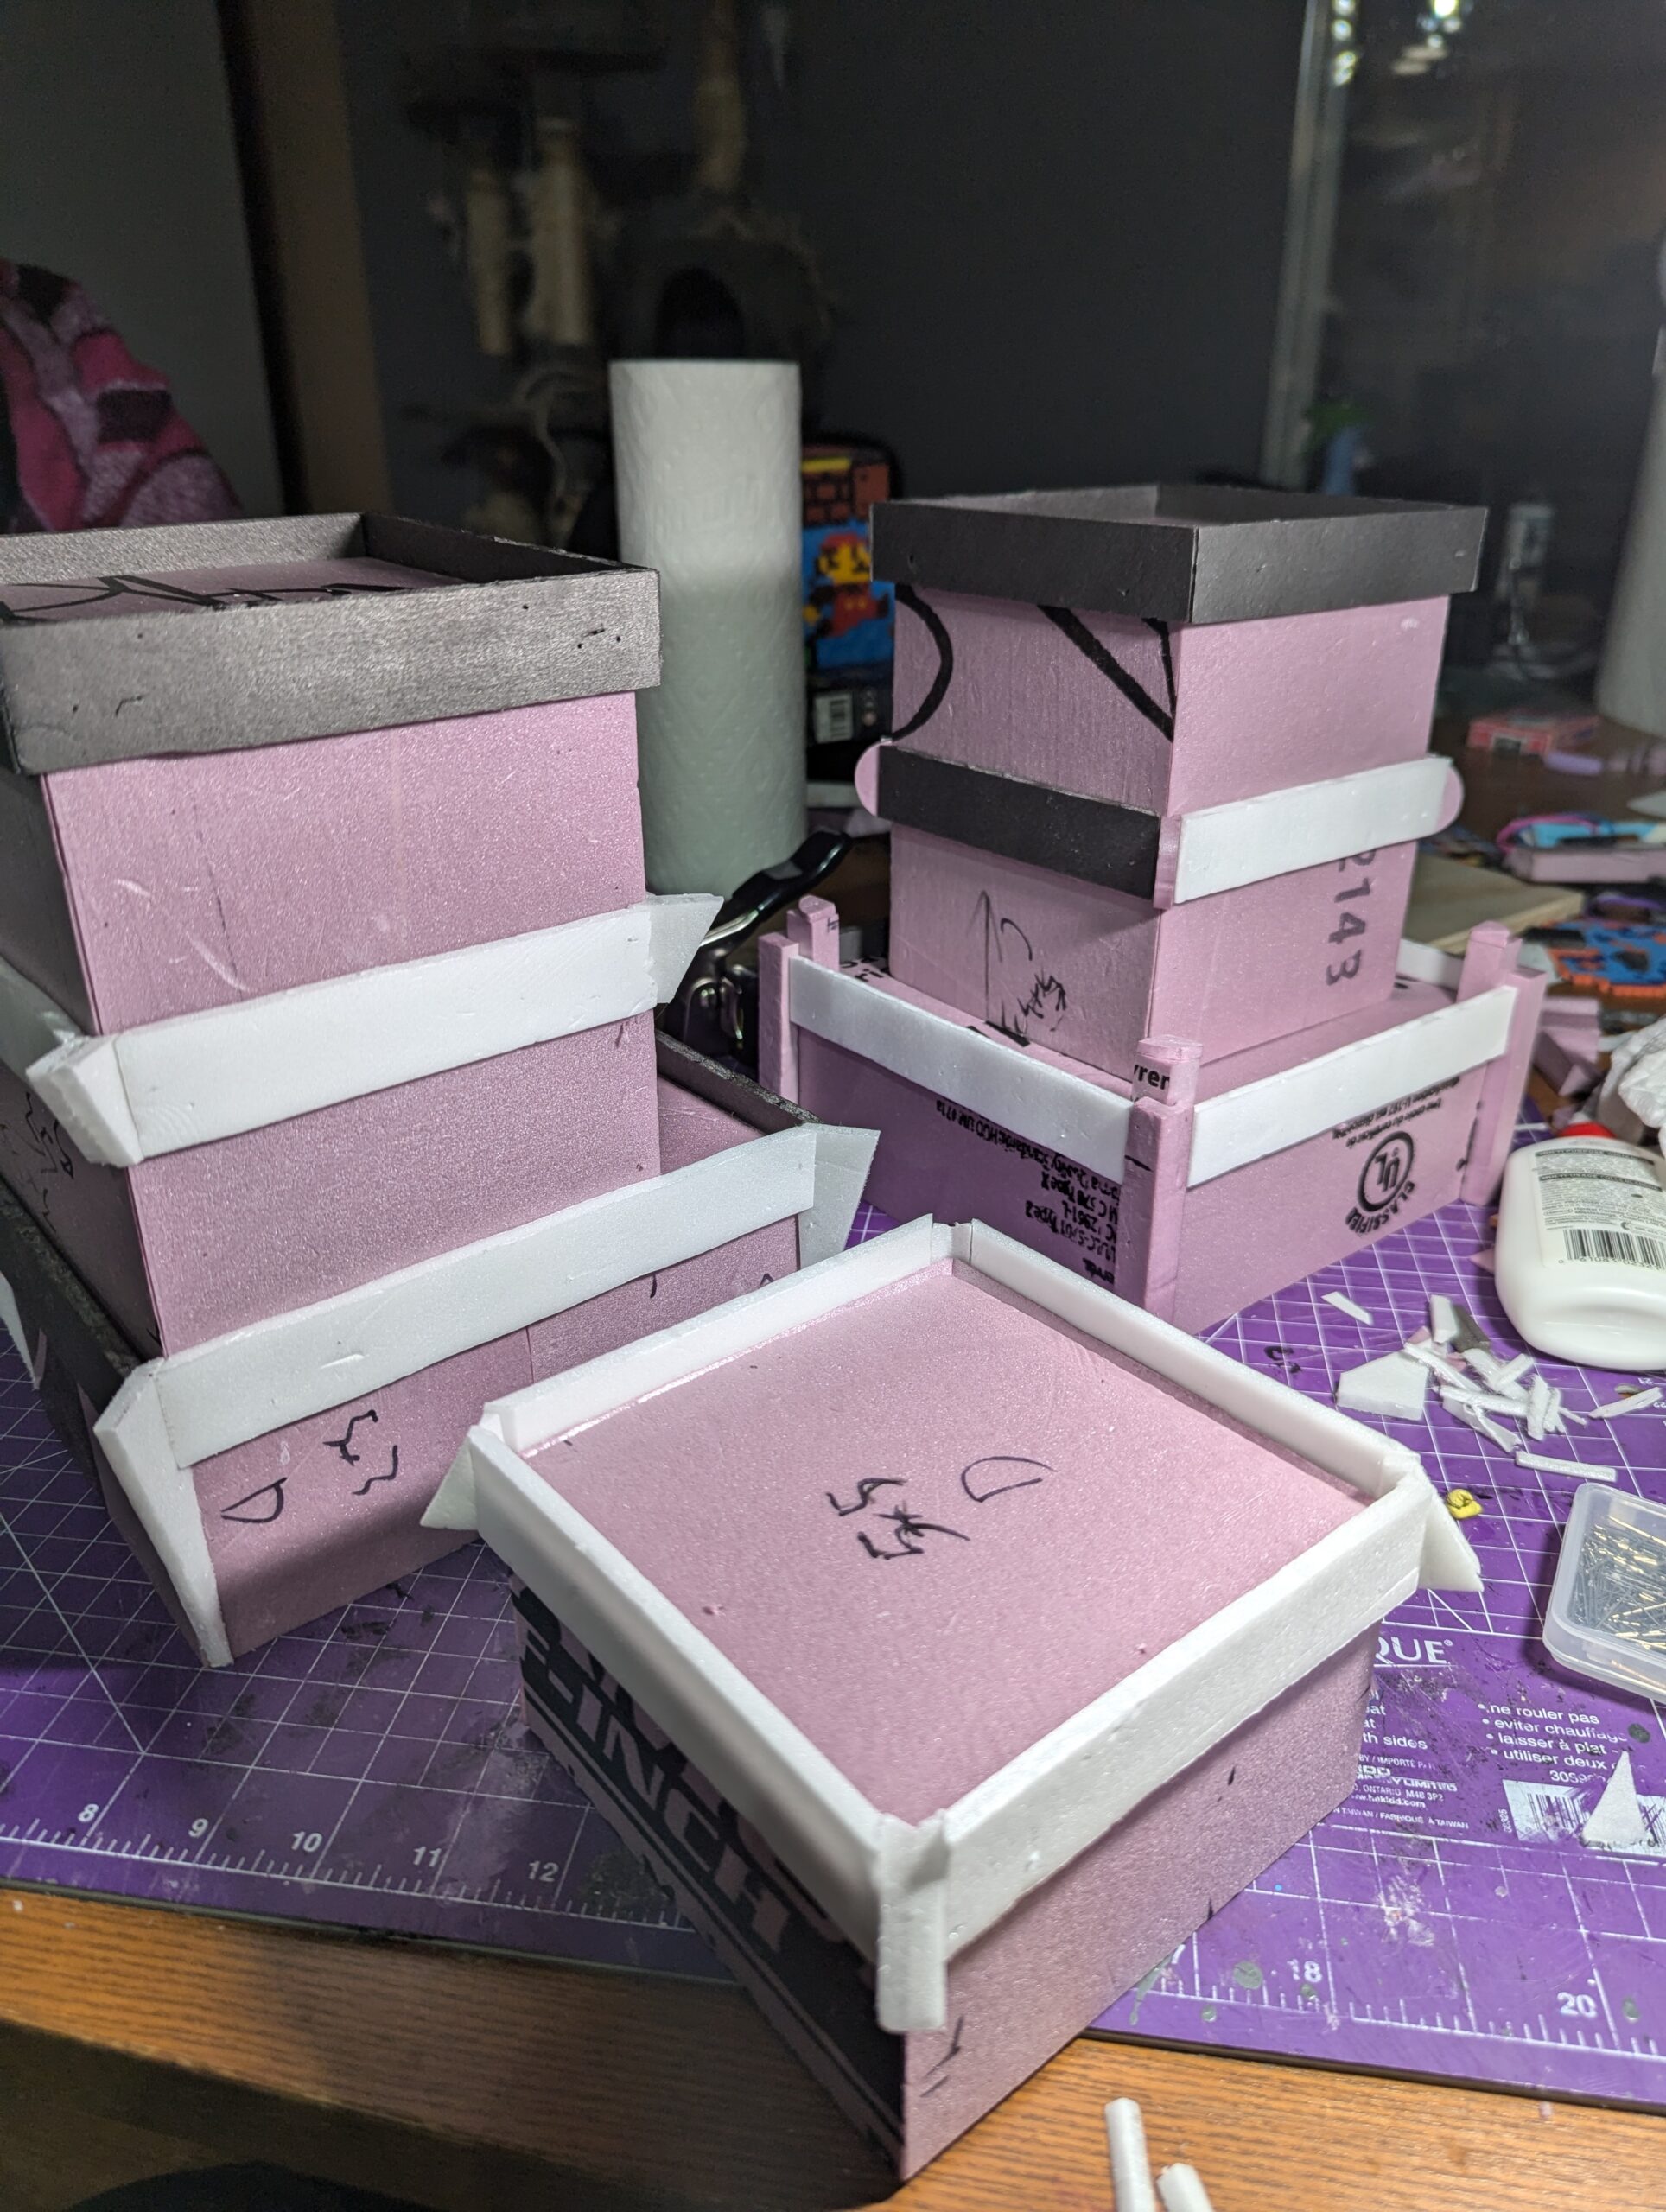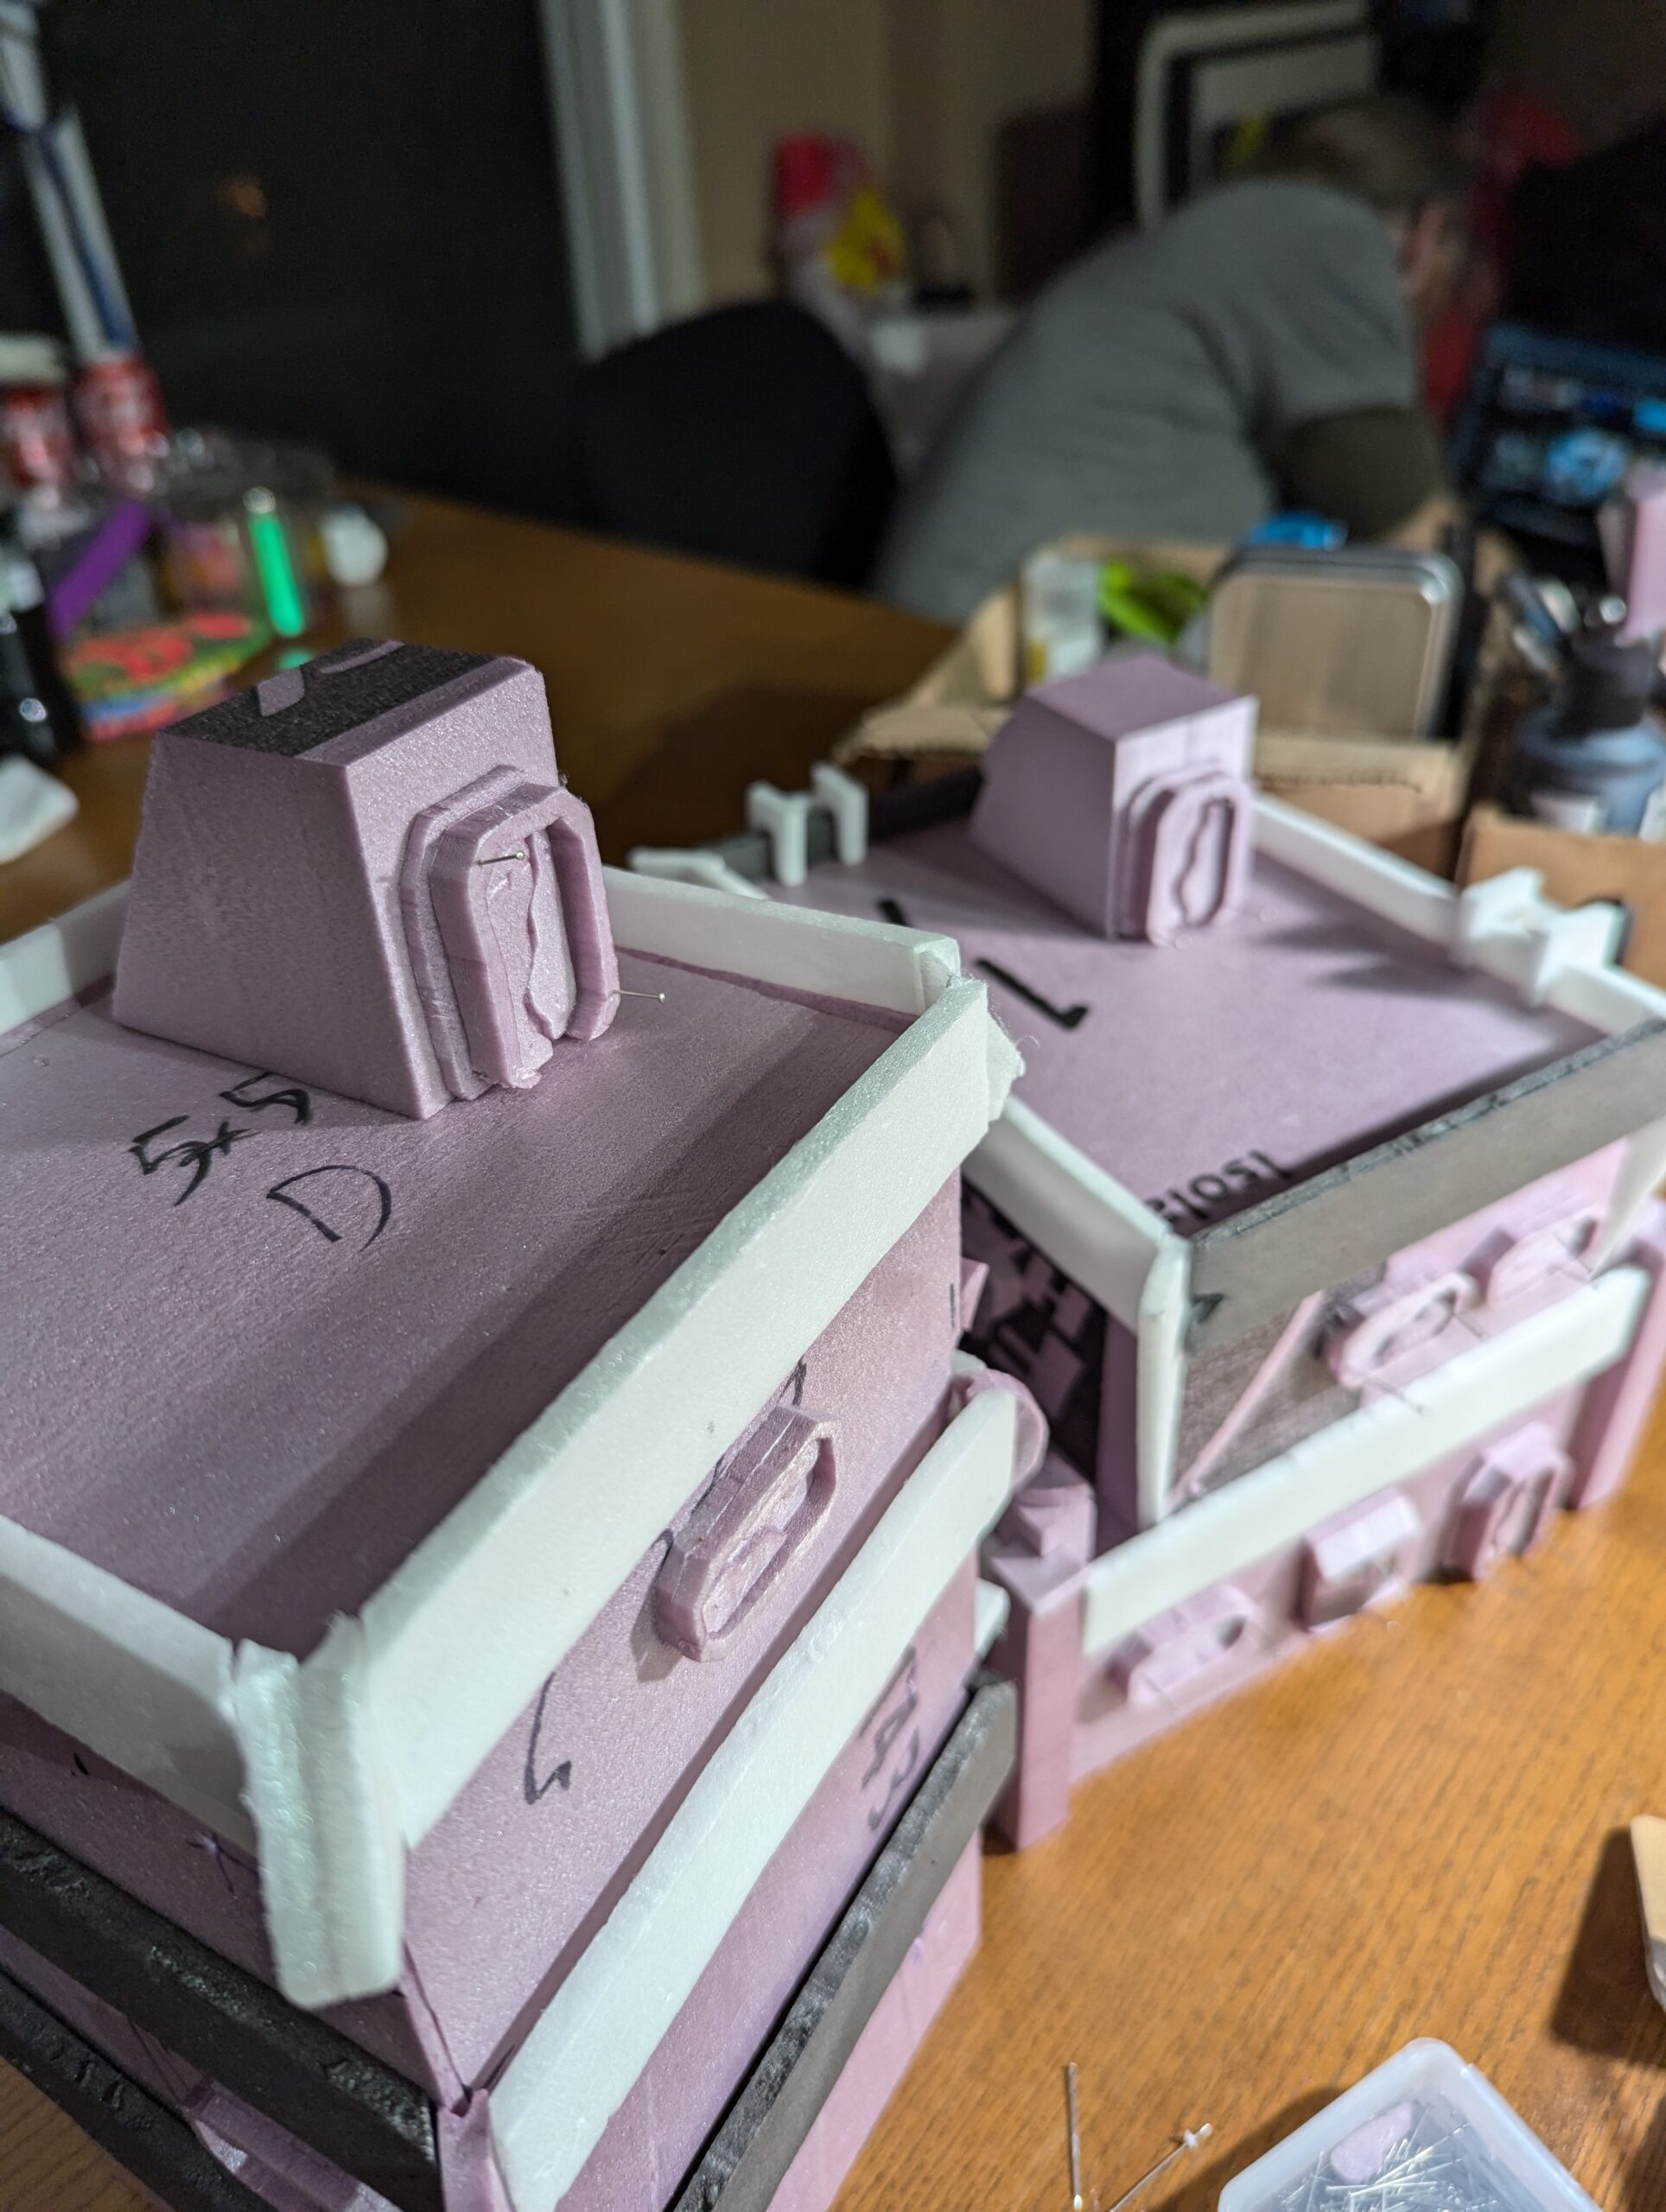
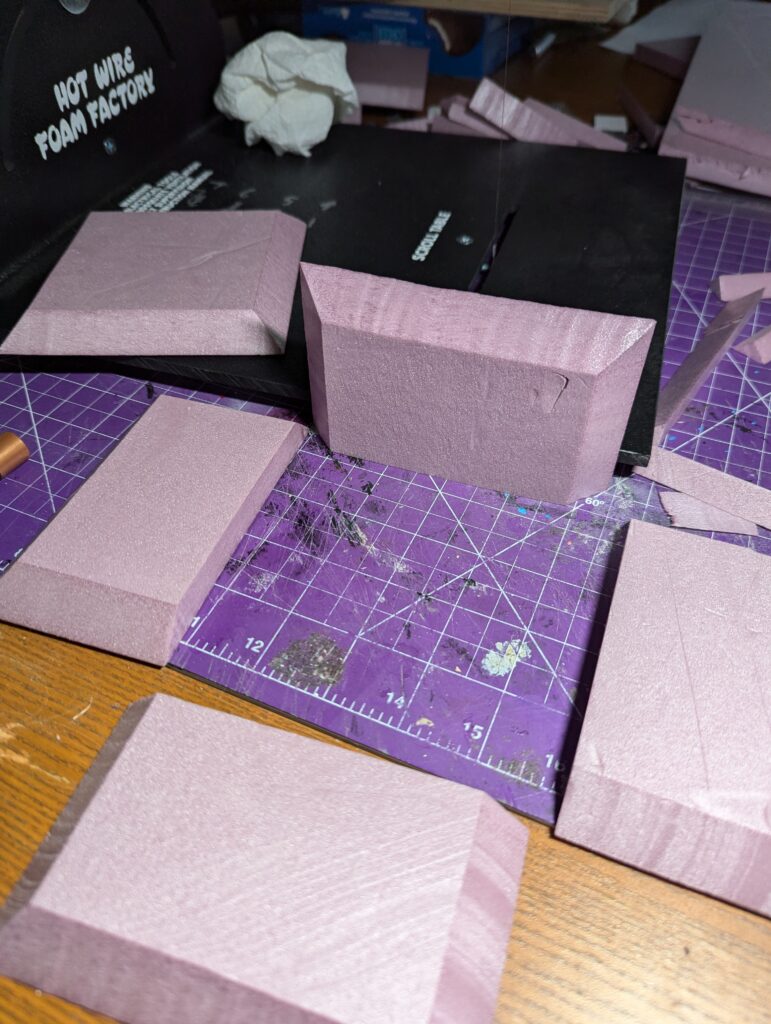
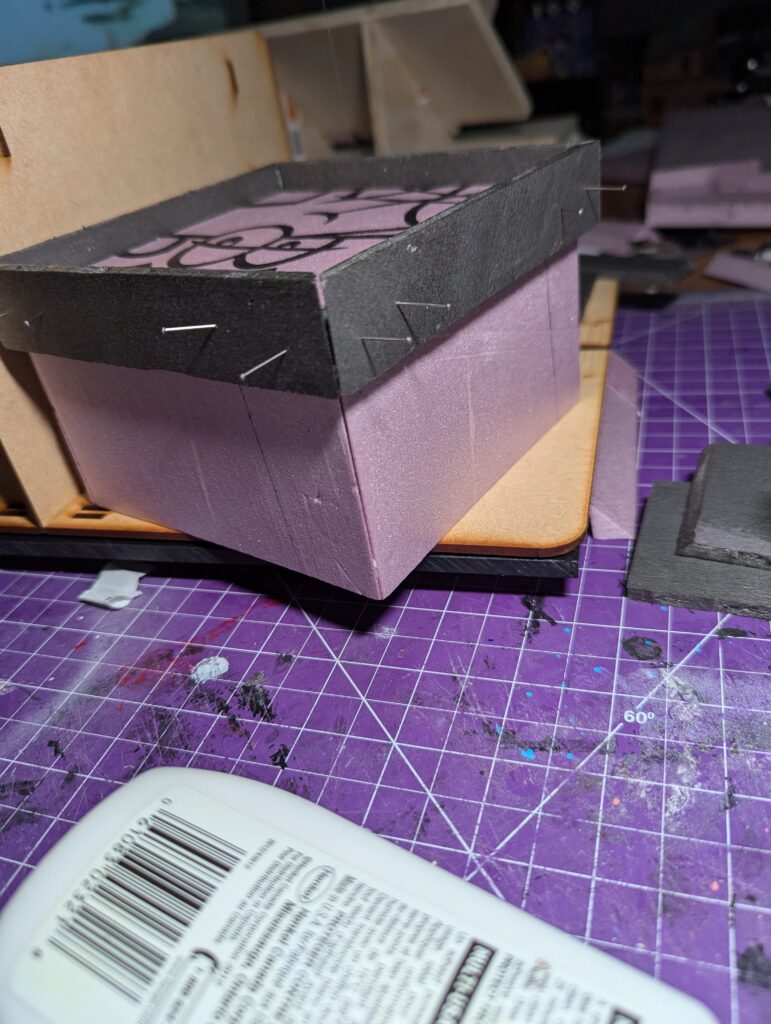
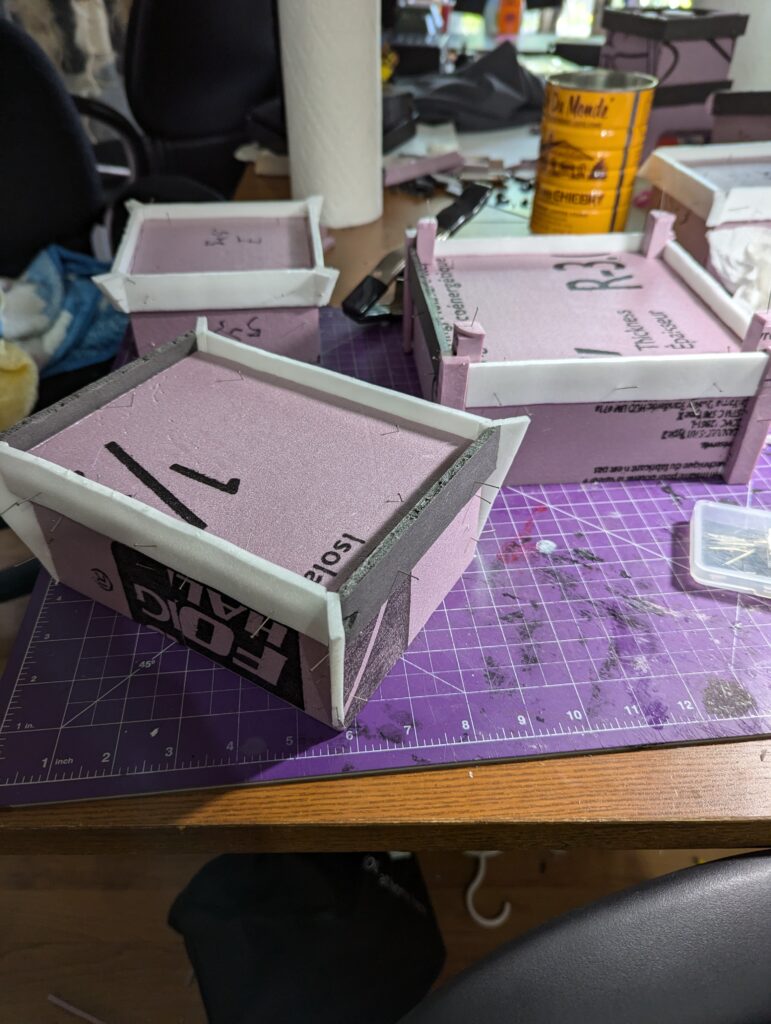
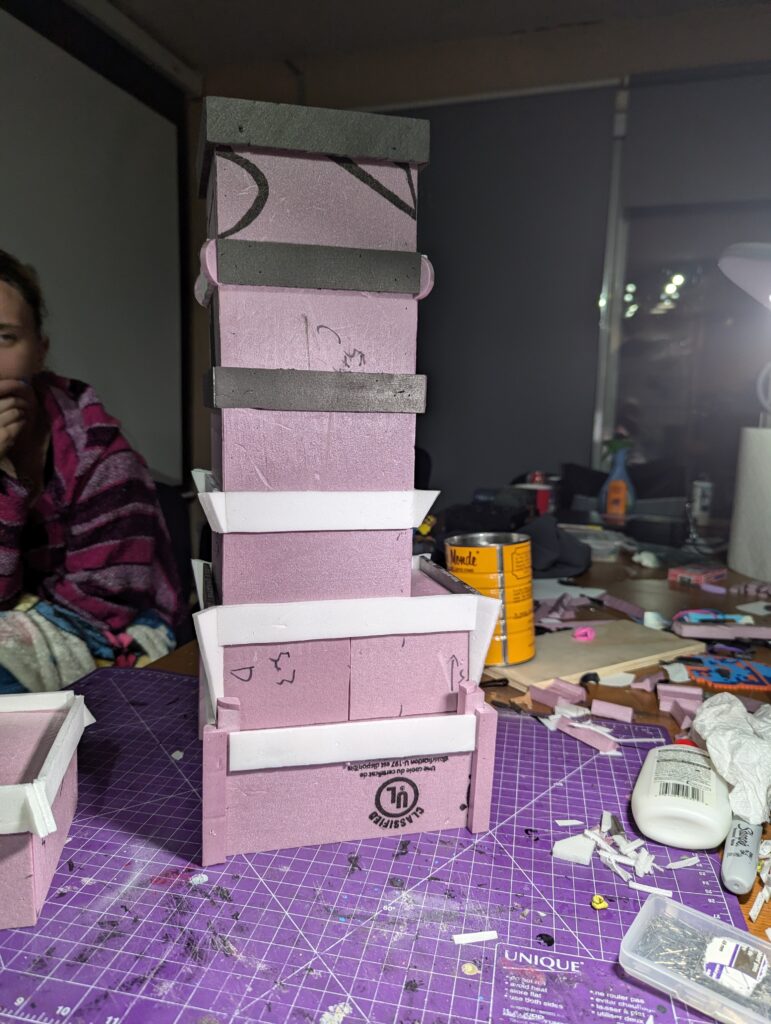
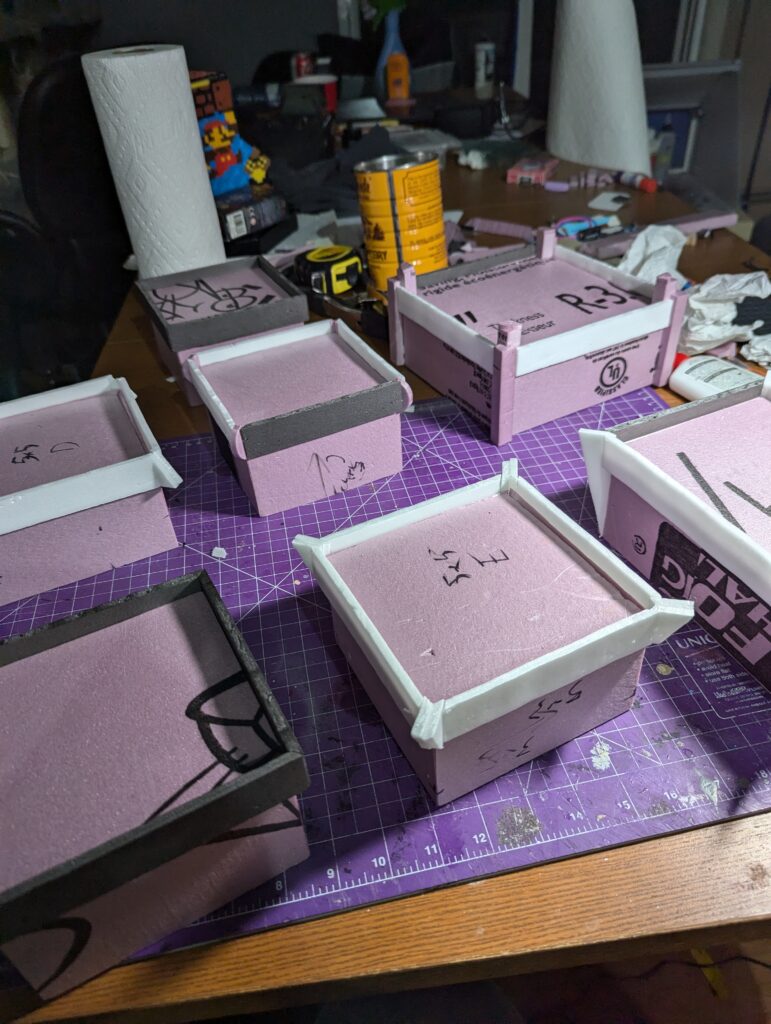
I got an offbrand hot wire cutter this summer. I started playing OPR. I have seen the benefit to having more than “some rubble” as terrain, but I didn’t want to spend a lot of time and effort on set pieces I’d rarely use. Enter my first attempt at some modular SF terrain. I took heavy inspiration from the (MDF based) work of Brutal Cities and Death Ray Designs, and am aiming for something reasonably modular with lots of detail. Brutal Cities’ Eternity Labs stackable modular design led me to a basic 5″ square, 3″ tall shape made of 1/2″ XPS foam, with a 1″ foamcore “railing” that offers some detail and a socket for stacking. Before I’m done I’ll be absolutely pissing greeblies to add some texture, inspired by Death Ray Designs. Plans include vents (already cut), windows, drone bays, and HVAC units. Then, I’ll be slapping together a magnet jig to make one pair of magnets on a corner of each building, which I can use to hold doors, ladders, catwalks, etc. City grid layout; everyone needs doors. One big tower setpiece; drone bays and platforms.
But, so far the WIP has been “I need squares” and “I need rims” and then “oops, I should have made a jig for gluing these 45 degree angles” and then “damn it all, I measured 5 inch rims instead of 5.25 and now they’re too short” and “happy little accident, now we have some corner structures to break up outlines” and “I need to cut this base to fit.” Most of this is meant to be learning, and that’s been happening in spades, but I’m also getting some usable terrain out of it.
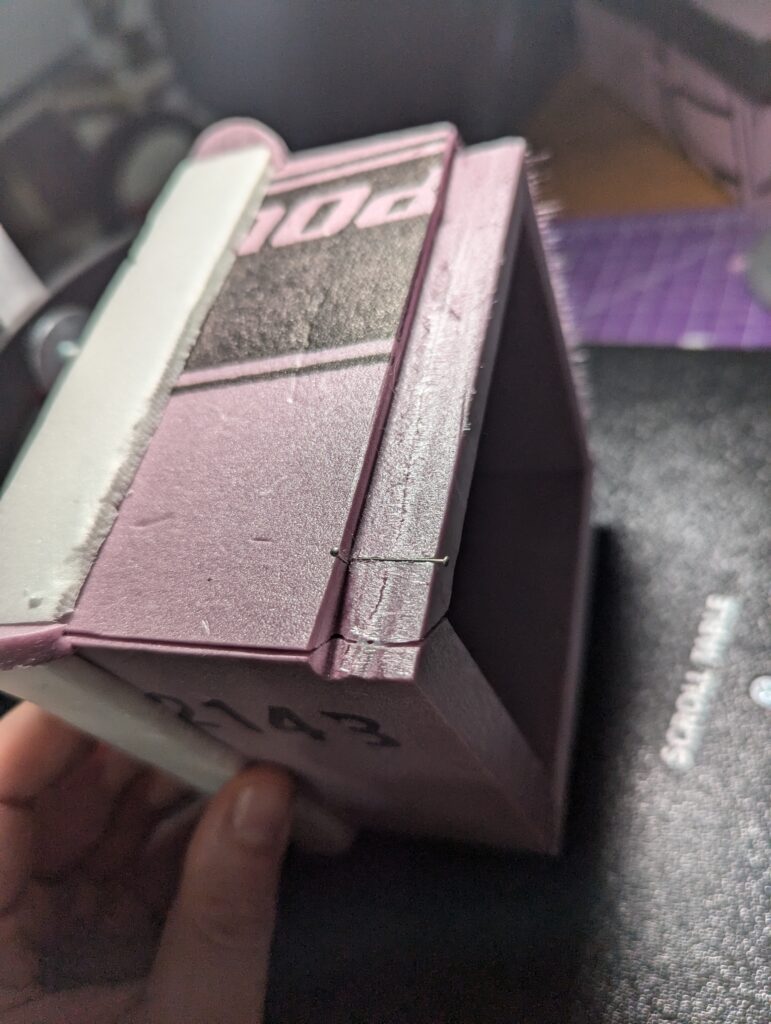
5″ and 7″ walls were cut at 45 degrees so I had seams at the corners instead of a) being offset 1/2″ and b) cutting 4.5″ instead. Roofs were cut the same way, but the rims hide some mistakes and the concrete texturing should hide a little more. Accidentally sliced my 7″ walls up and had to jerry rig some out of scrap. Managed pairs of 3.5″ that worked well enough. Foam board went on easily enough thanks to judicious use of sewing pins to mark 1/2″ and a fed nudges when the pins weren’t quite aligned. White glue held everything together just fine (thanks to BMC for his hints on YT). When I realized I’d gapped the corners of the rims, I threw together a half dozen ideas and jammed them where they’d fit. My players will like them and only I will be aware of how much structure is accidental and patchwork. Just like stage work, really. And GMing. Boy, being comfortable with failure is crucial to this hobby!
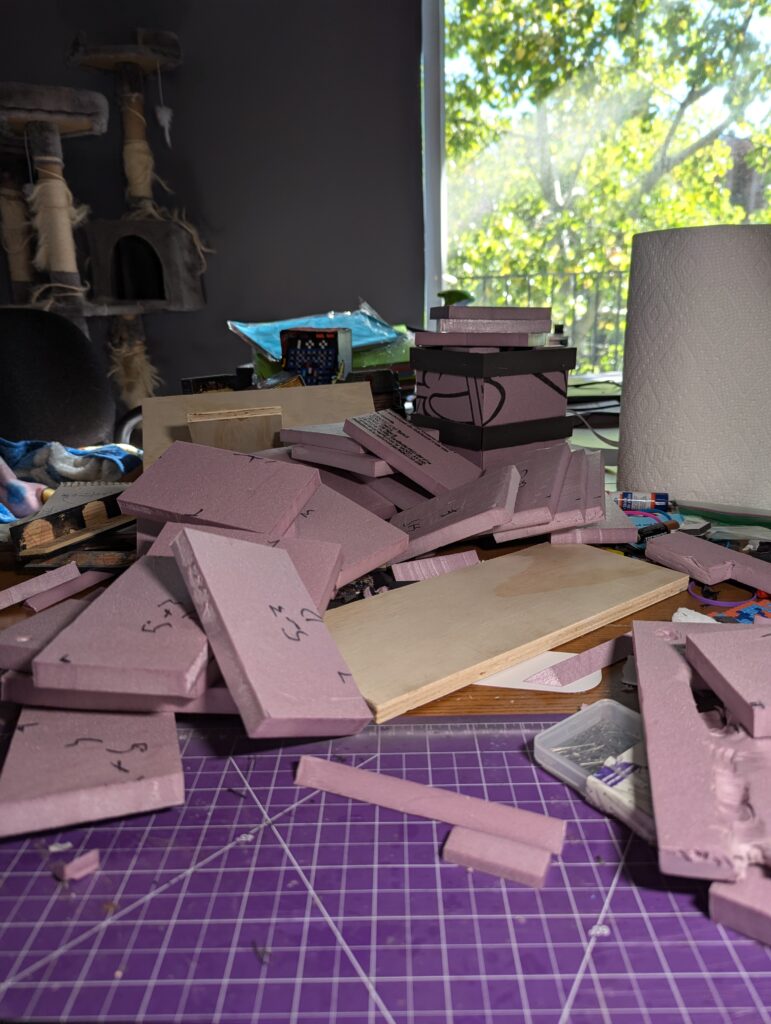
Anyway, the result thus far has been five 5×5, one 5×7, and one 7×7 buildings I’ll be using for wargaming and RPGs. I’ve got possibly as much, possibly more work than I’ve already done to batch up some vents, windows, doors, etc., but this whole process took me about one week so far, and that’s with a very full weekend. I’m pretty optimistic about my timelines to finish. Given that my first attempt at this last week was 5mm foamboard L-blocks which I couldn’t get the paper and glue off of (uncomfortably hot water and gentle rubbing with a rag, it turns out), I’m pleased with not just the learning curve but the improvement in output. I’ll update when I’ve got things greeblied and sealed. Not looking forward to dry brushing this much grey. Might grab a hardware store rattle can of black and of grey if I’m comfortable with my sealing job.
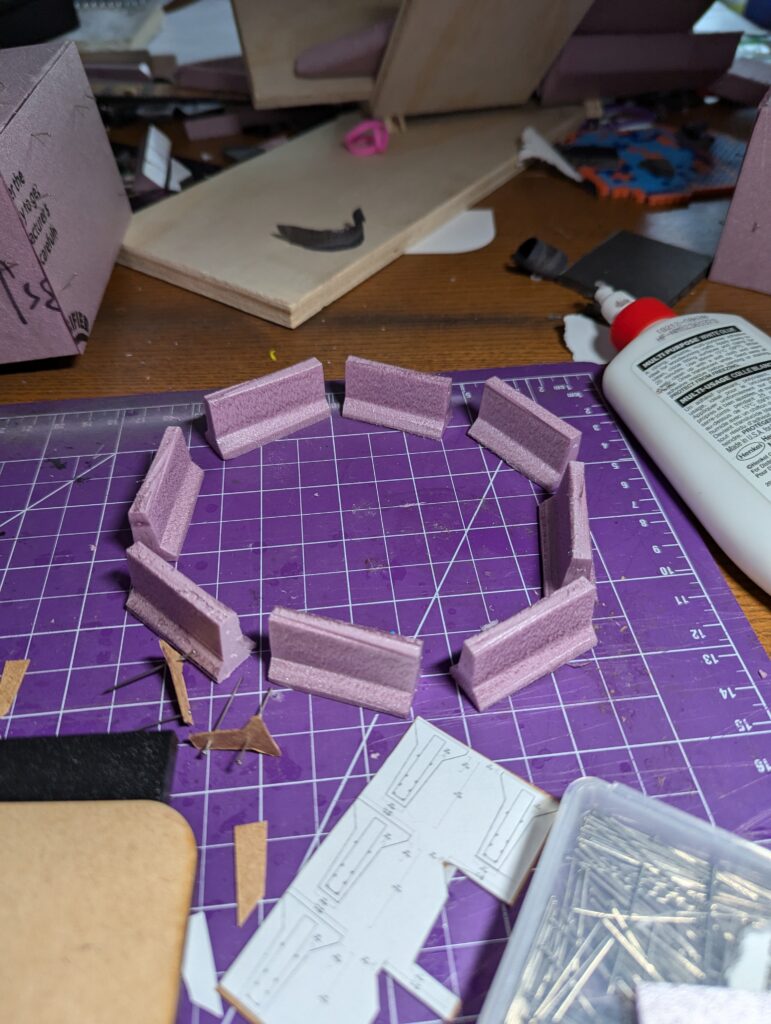
Oh, and I cut out some chipboard and faked up a jig to hot wire some jersey barriers out of spare 1/2″ XPS. Worked pretty good!
